
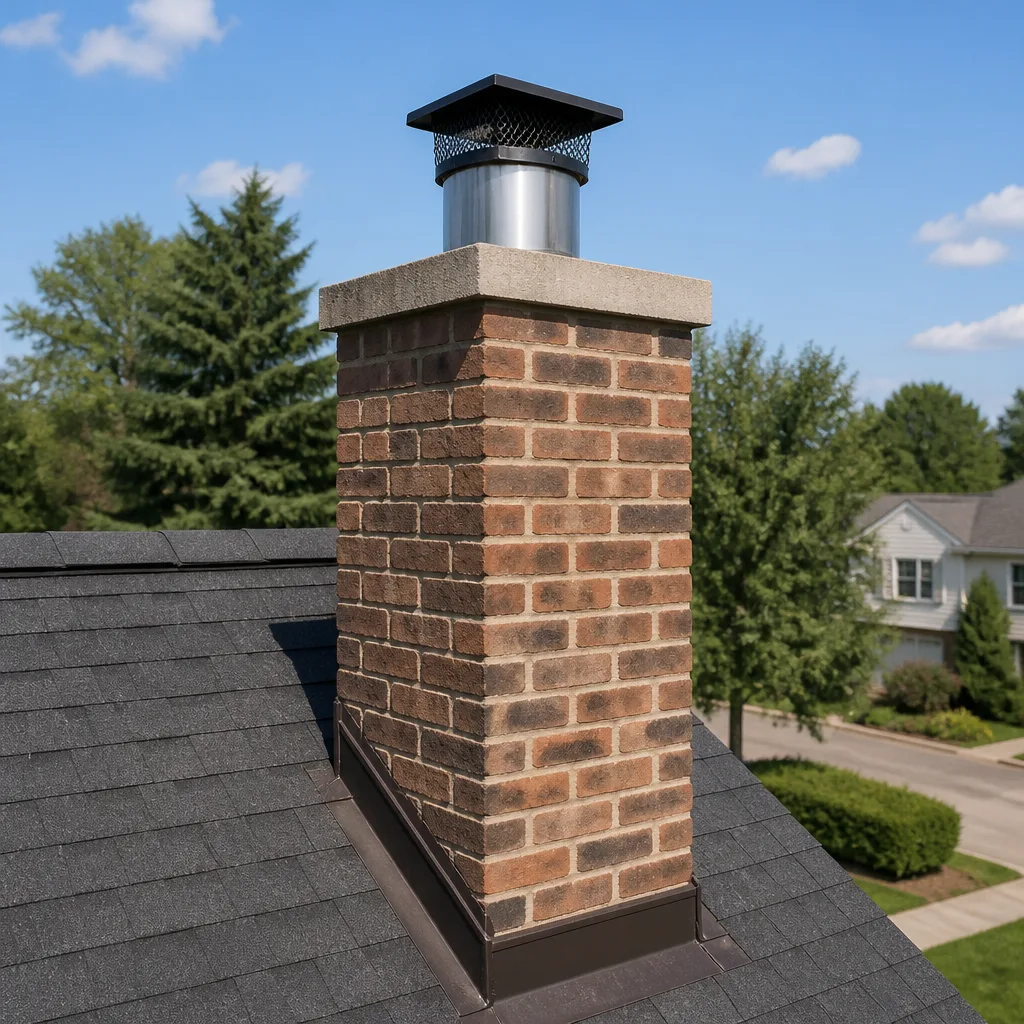
 Flue relining
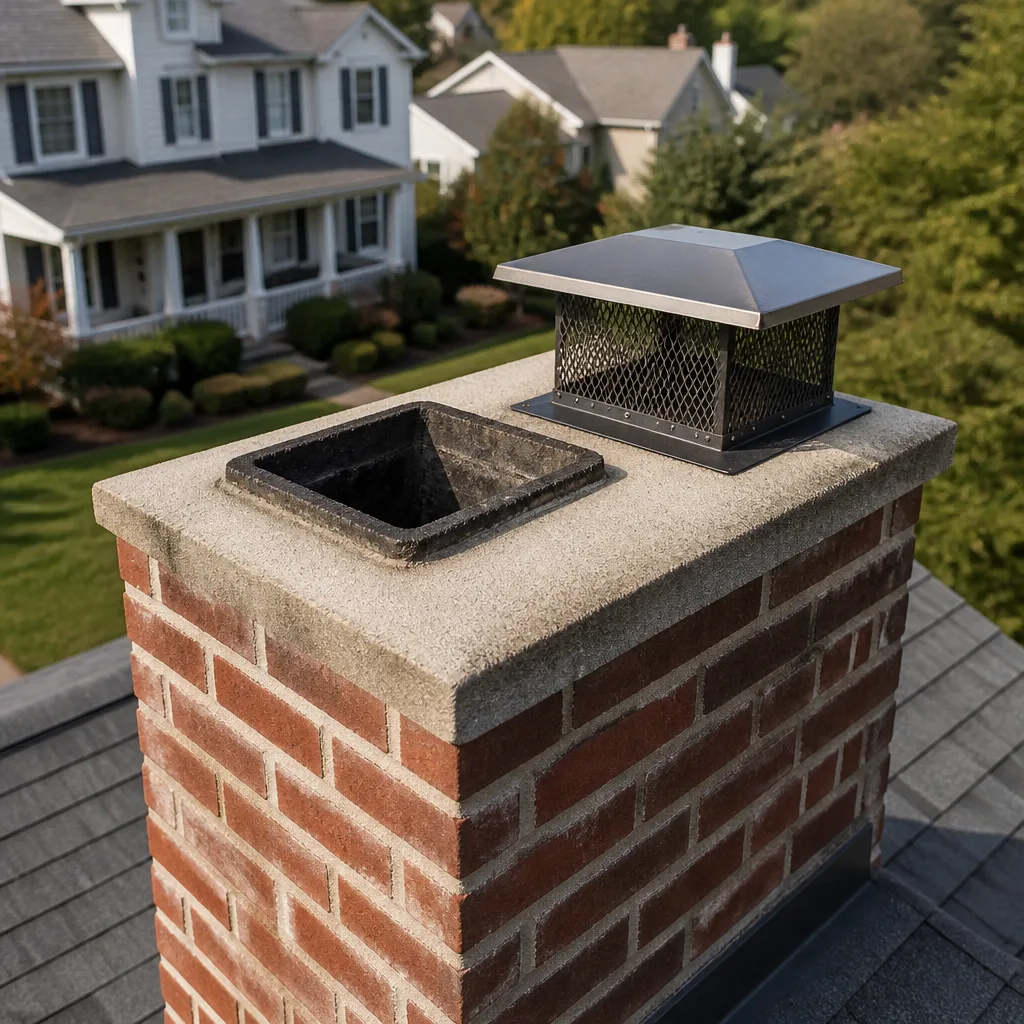 Sweep & inspection
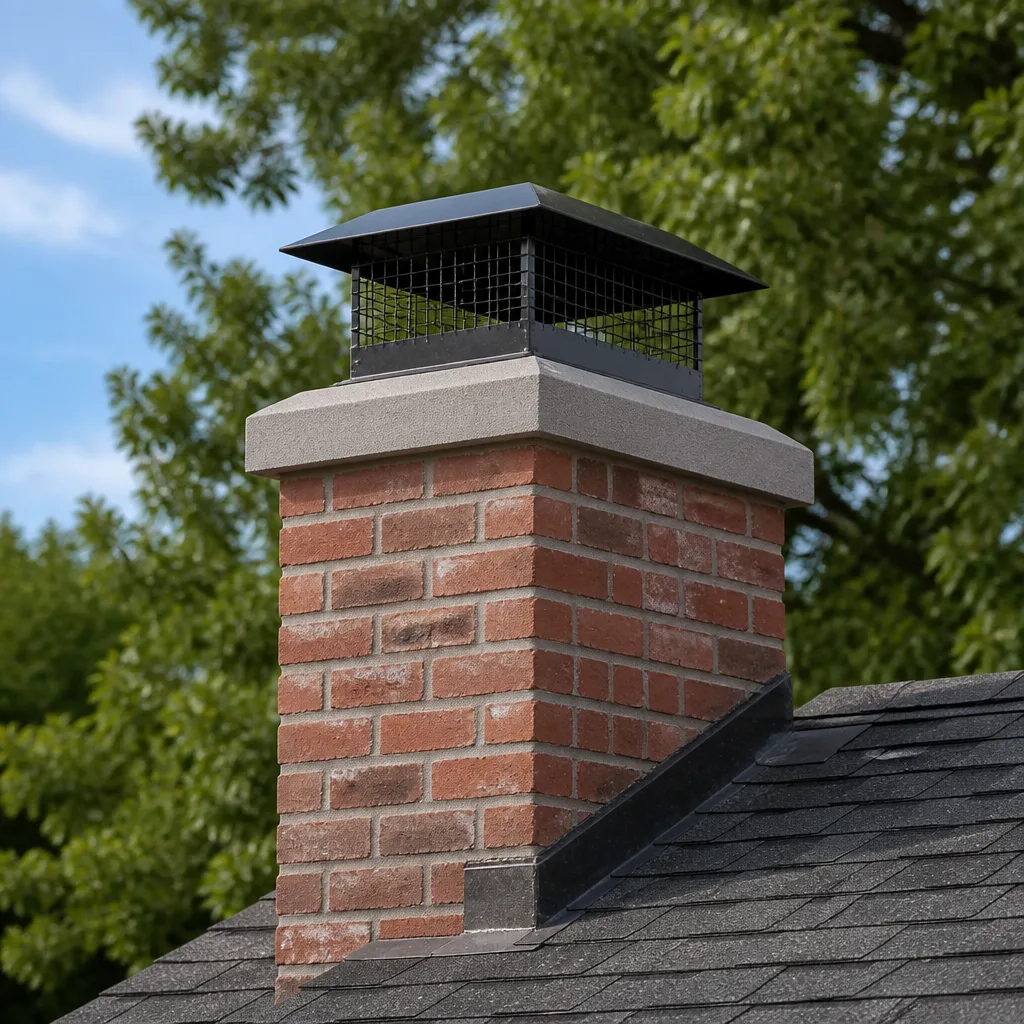 Caps & crowns
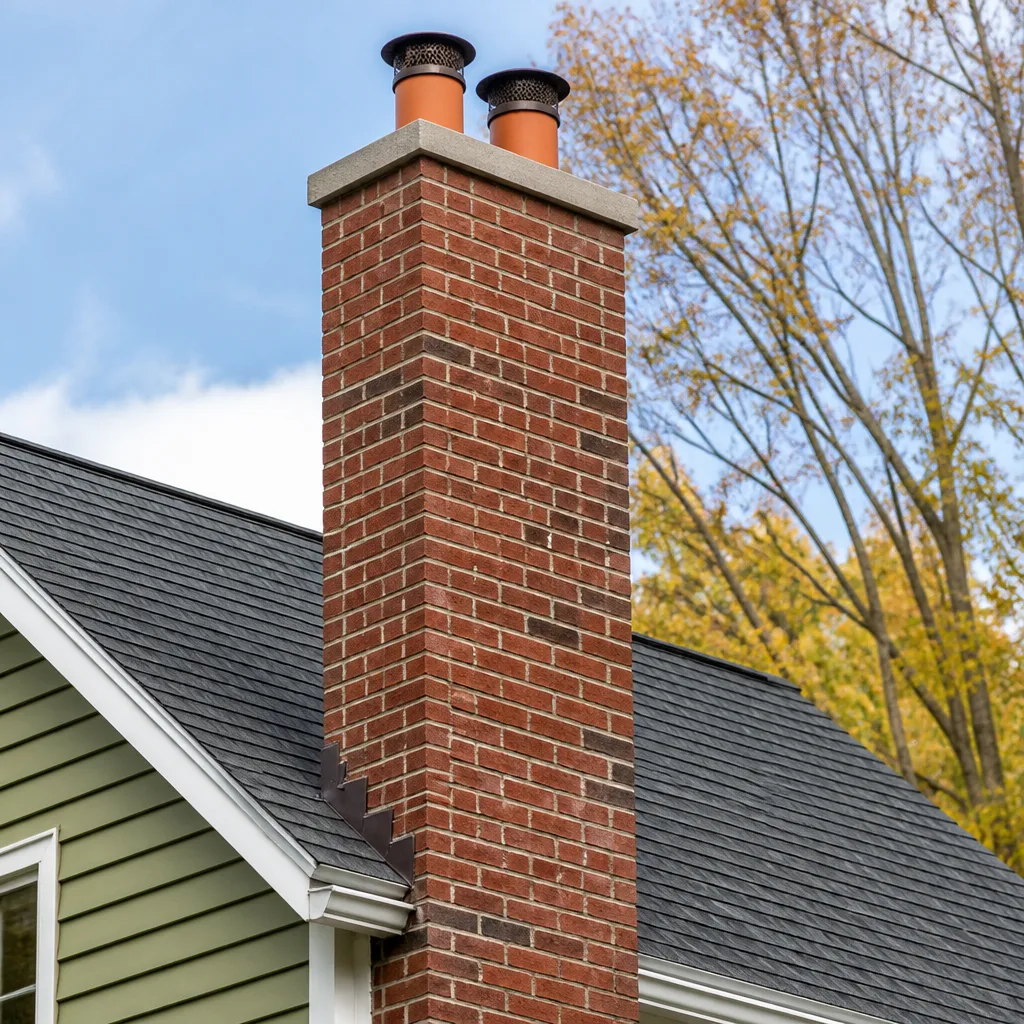 Masonry repair
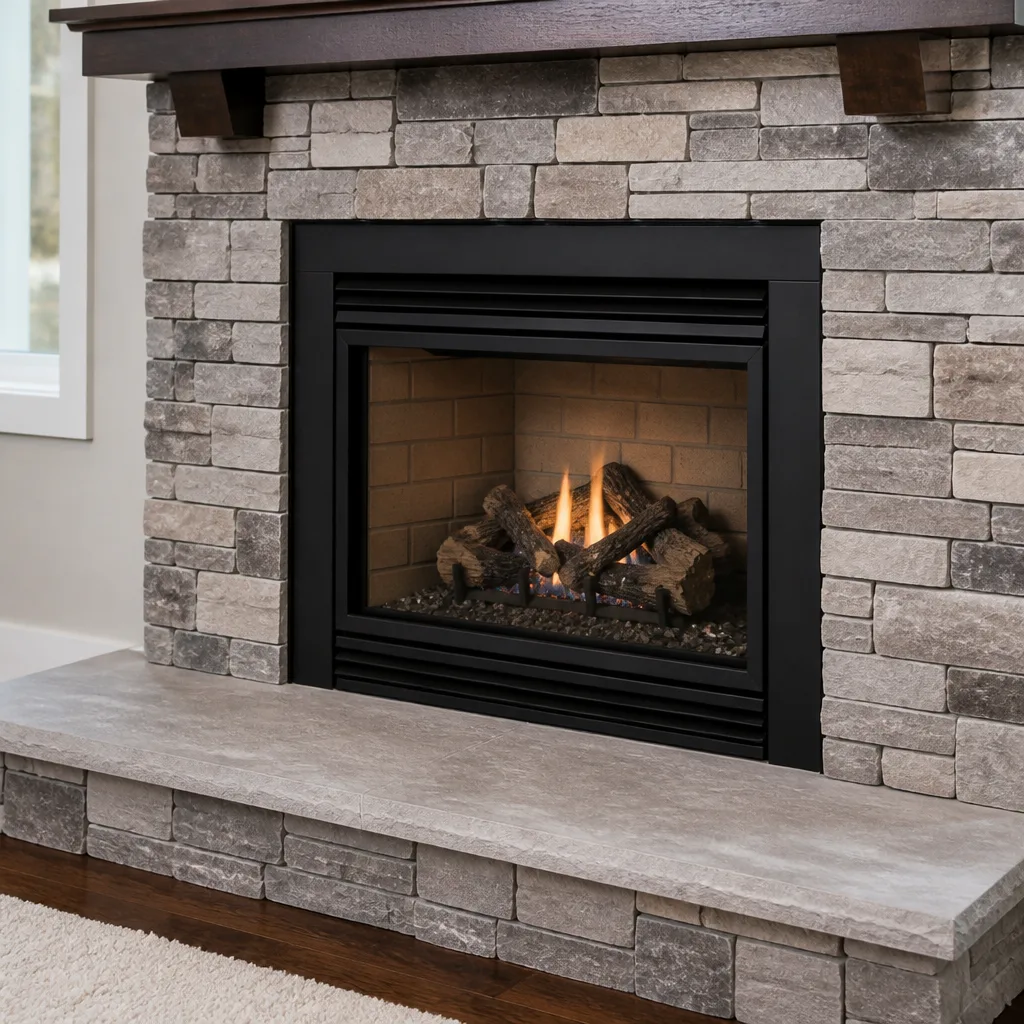 Gas fireplace service
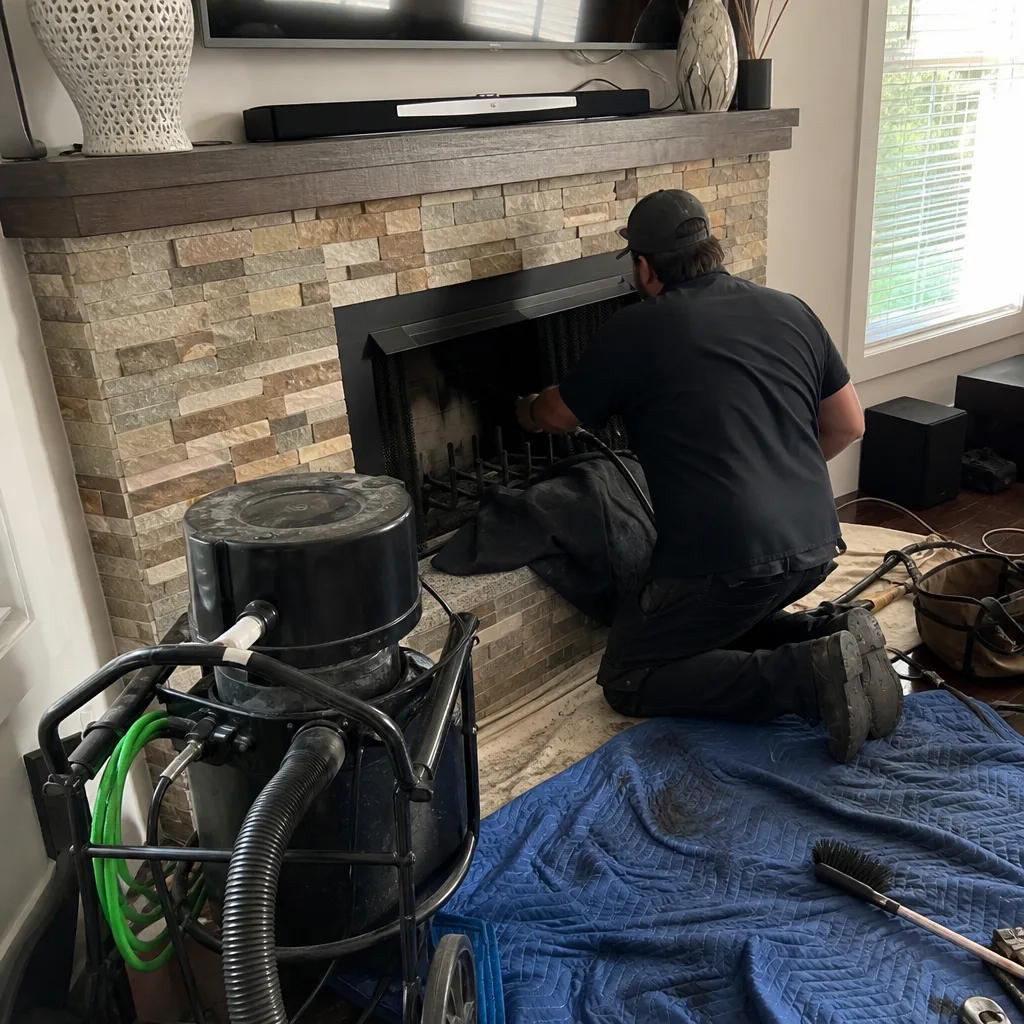
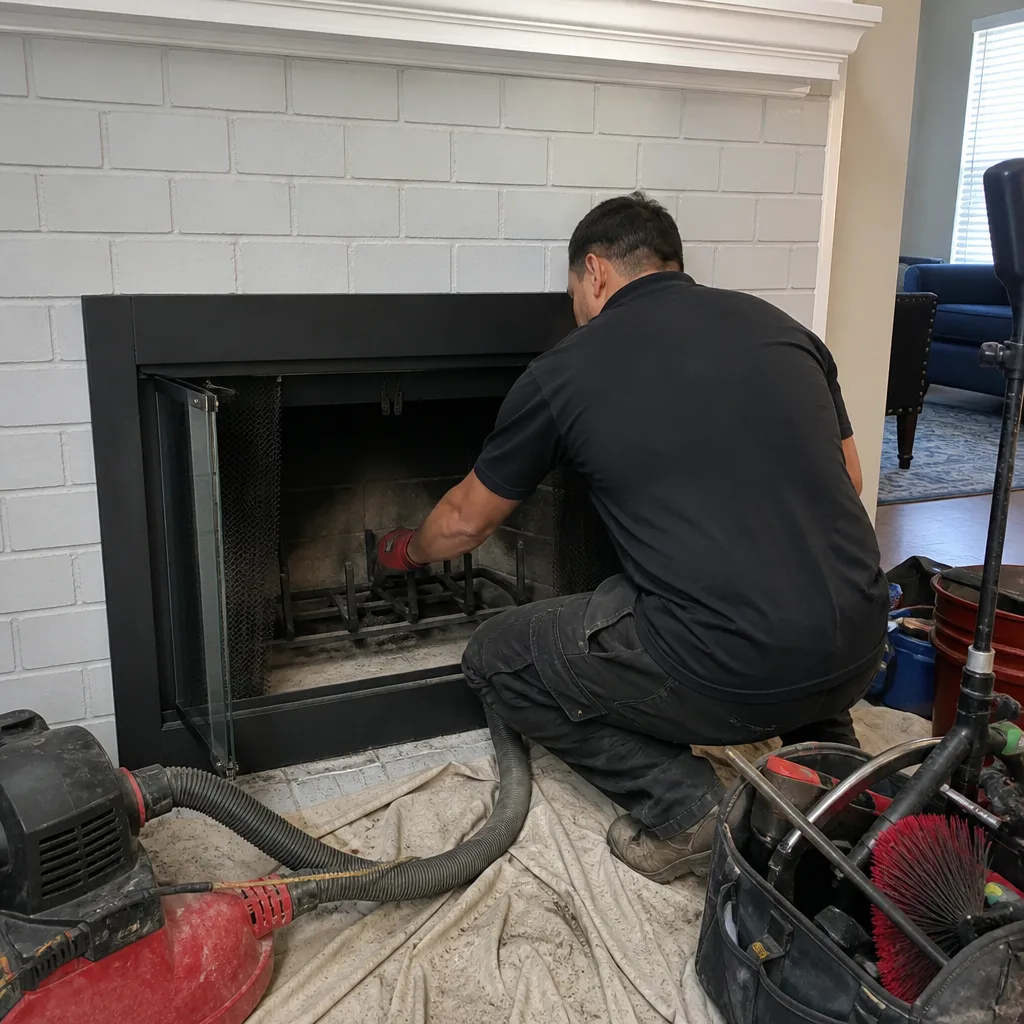
Level 1 sweep and inspection to the NFPA 211 annual standard - flue, crown, cap, and flashing checked and photographed
Chimney sweep logs do not sweep chimneys. They loosen some creosote - which then falls where a brush and vacuum still have to collect it.
Gelco Flue Liner Replacement: The Orlando Owner’s Guide
Gelco flue liner replacement in Orlando typically runs between $1,800 and $4,200 installed, depending on the liner length, the existing masonry condition, and whether we’re swapping a section or the full run. We stock Gelco-compatible liner sections and connectors on our trucks, and most replacements in the Orlando market are completed same-day once we’ve taken measurements and confirmed the failure point. Owners usually discover a liner problem during an annual inspection, or when they notice flaking metal bits falling into the firebox, a persistent draft issue that wasn’t there last winter, or the smell of smoke lingering in the living room after a fire.
Here’s what matters: a failed Gelco liner in Central Florida’s humidity rarely announces itself loudly. It corrodes quietly, usually at a seam or a connector point, and by the time you see visible damage from the firebox, the liner has often been compromised for months. That’s why we don’t quote a liner replacement over the phone without first seeing what’s happening inside the flue. Danny Cortes insists on that, and after two decades in chimney work, he’s got the service-call stories to back up why.
Key takeaways:
- Gelco flue liners are stainless steel, and in Orlando’s humid, salt-adjacent air, the most common failure is corrosion at rivet points and seam overlaps, not the liner wall itself.
- We install Gelco-compatible stainless liner systems and have experience matching them to existing Gelco terminations, caps, and connectors.
- Every liner replacement starts with a camera inspection, so you see exactly what we see before a dollar is quoted.
- You get a written price before any work starts, and the job is covered by our 365-Day Done Right Promise.
Which Gelco Models This Applies To
Gelco’s residential flue liners are built around standard diameters, usually 4″, 5″, 6″, 7″, and 8″, with the 6″ size being the most common we encounter in Orlando homes with open-hearth masonry fireplaces. The liner sections themselves are generally 24″ or 36″ lengths, and Gelco’s design relies on a rib-and-crimp connection system that locks sections together without needing screws at every joint. It’s a clean system when installed correctly, but it does mean that a mismatched aftermarket section from another manufacturer won’t seat properly, even if the diameter measures the same. We’ve seen that specific issue enough times in the Dr. Phillips area that we always confirm the existing liner brand before recommending a replacement path.
The easiest way to identify your Gelco liner is to look for the stamped marking on the liner wall near the top termination or at the connector band inside the flue. Some Gelco liners carry a roll-formed rib pattern that’s distinct from competitors like DuraFlex or HeatShield. If you can’t read the marking, a camera inspection will usually reveal the connection style, and that tells us what we need to know. As an independent service provider, we’re not affiliated with Gelco, but we’ve installed and replaced enough of their systems to know the compatibility gotchas: Gelco’s older smooth-wall liners don’t always accept newer corrugated replacement sections without an adapter, and Gelco’s termination caps have a specific mounting collar that often needs to be replaced at the same time as the liner rather than reused.
We also stock replacement parts for DuraFlex and HeatShield systems, which helps when an Orlando home has a mixed liner setup or an older fireplace with a retrofitted run.
Styles & brands we work with
Signs Your Gelco Flue Liner Replacement Is Failing
- Flaking metal or rust-colored debris in the firebox. This is the most direct signal. When stainless liner sections begin to fail, they typically shed thin metal flakes or rust particles that fall through the damper area. If you see what looks like coffee grounds or metallic dust after a fire, the liner wall or a connector band is actively degrading.
- A draft that pulls poorly, especially on humid days. In Orlando, a corroded liner seam allows moisture into the flue passage, which creates a heavier air column and weakens the draft. You might notice the fireplace is harder to start than it was two seasons ago, or that smoke hangs in the firebox longer before going up the chimney.
- Smoke odor upstairs or in rooms adjacent to the chimney chase. When a liner section separates, exhaust gases can escape into the cavity between the liner and the masonry. That smoke smell in the bedroom above the fireplace isn’t a coincidence. It’s a path-of-least-resistance issue that often traces back to a failed Gelco connector or a perforated liner section.
- Visible rust streaks on the chimney exterior or at the crown. Florida’s wet season is hard on termination components. If water is getting past the cap and running down the liner, you’ll often see rust staining at the top of the chimney masonry. By the time it’s visible outside, the liner has been getting rained on internally, and replacement is usually the fix, not a patch.
- A rumbling or rattling sound when the fire is going. A loose liner section or a failing connector band can vibrate when hot exhaust moves past it. It’s not a subtle noise, and it’s not one to ignore. Danny has pulled liner sections out of Orlando chimneys that were hanging by a single crimp joint, and the homeowner reported the noise for an entire season before calling.
See the difference
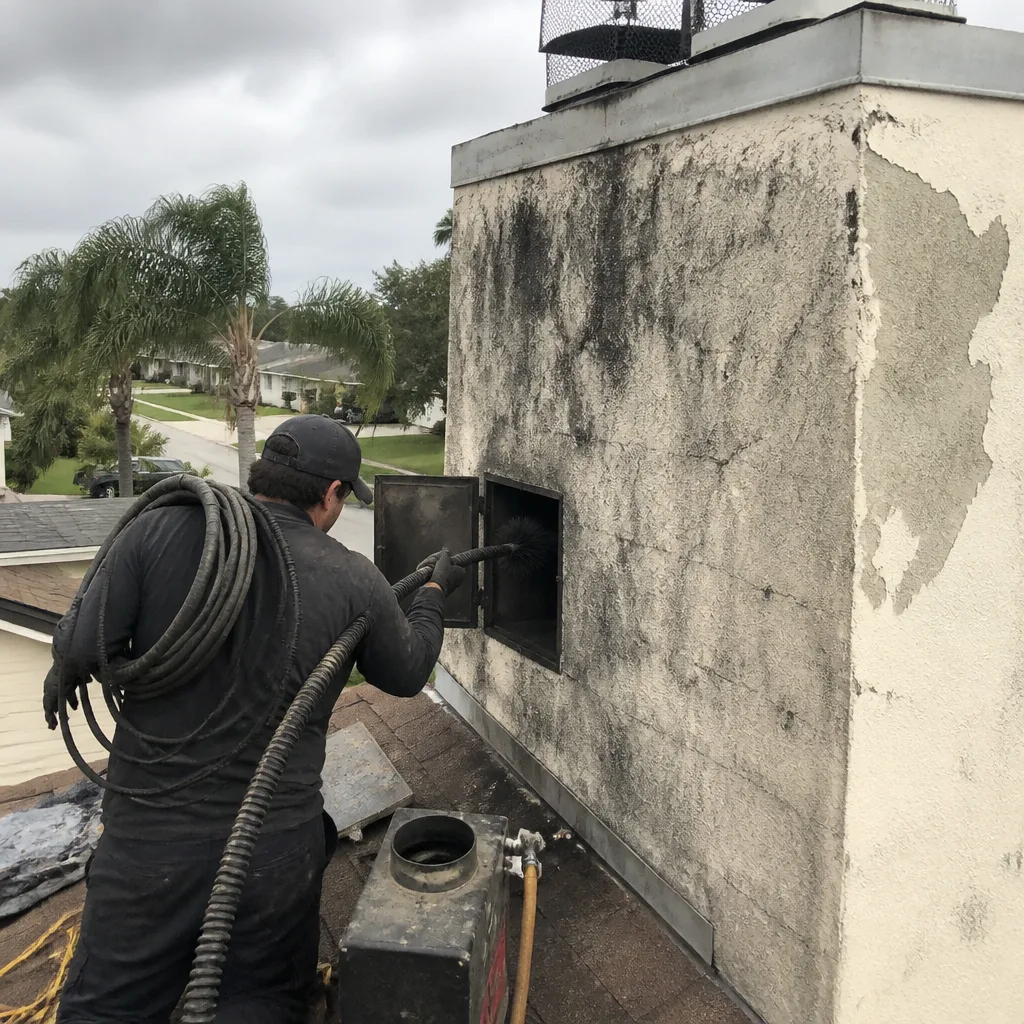 Before
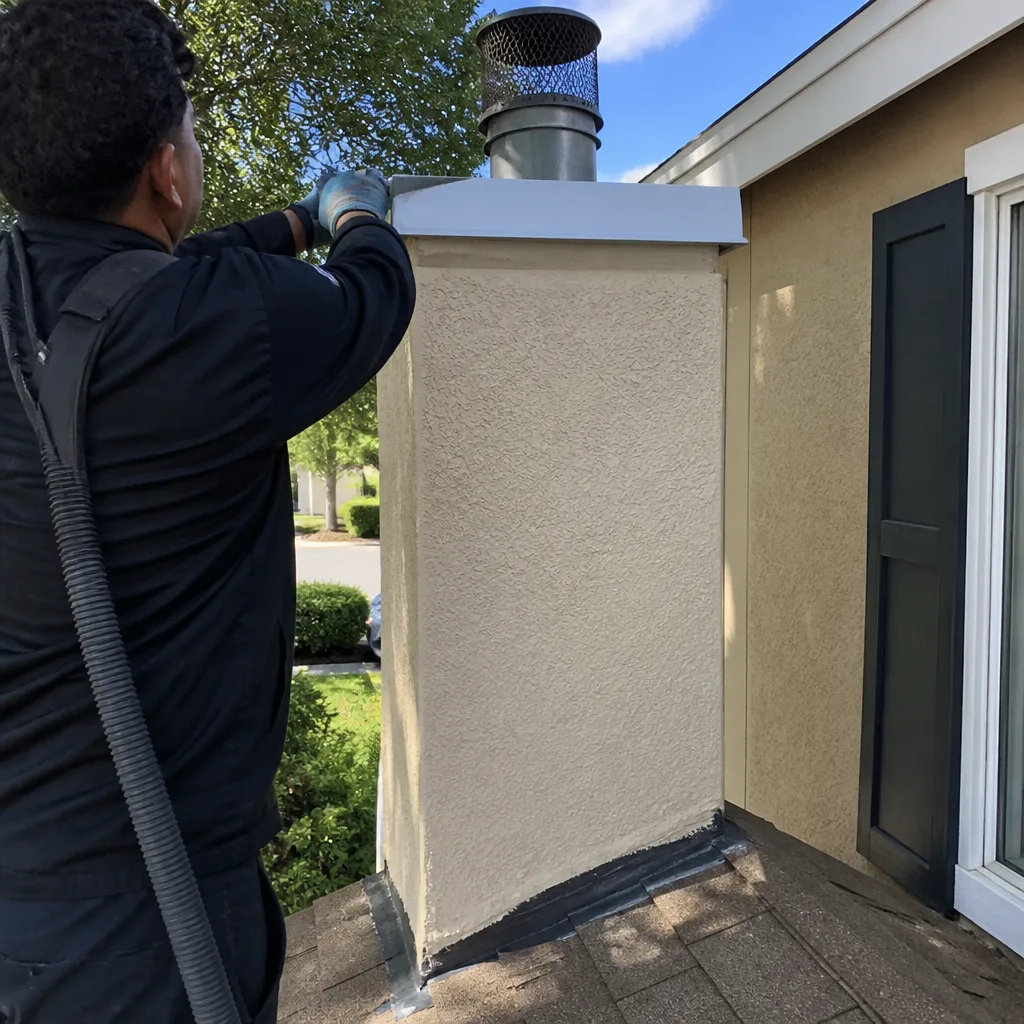 After
After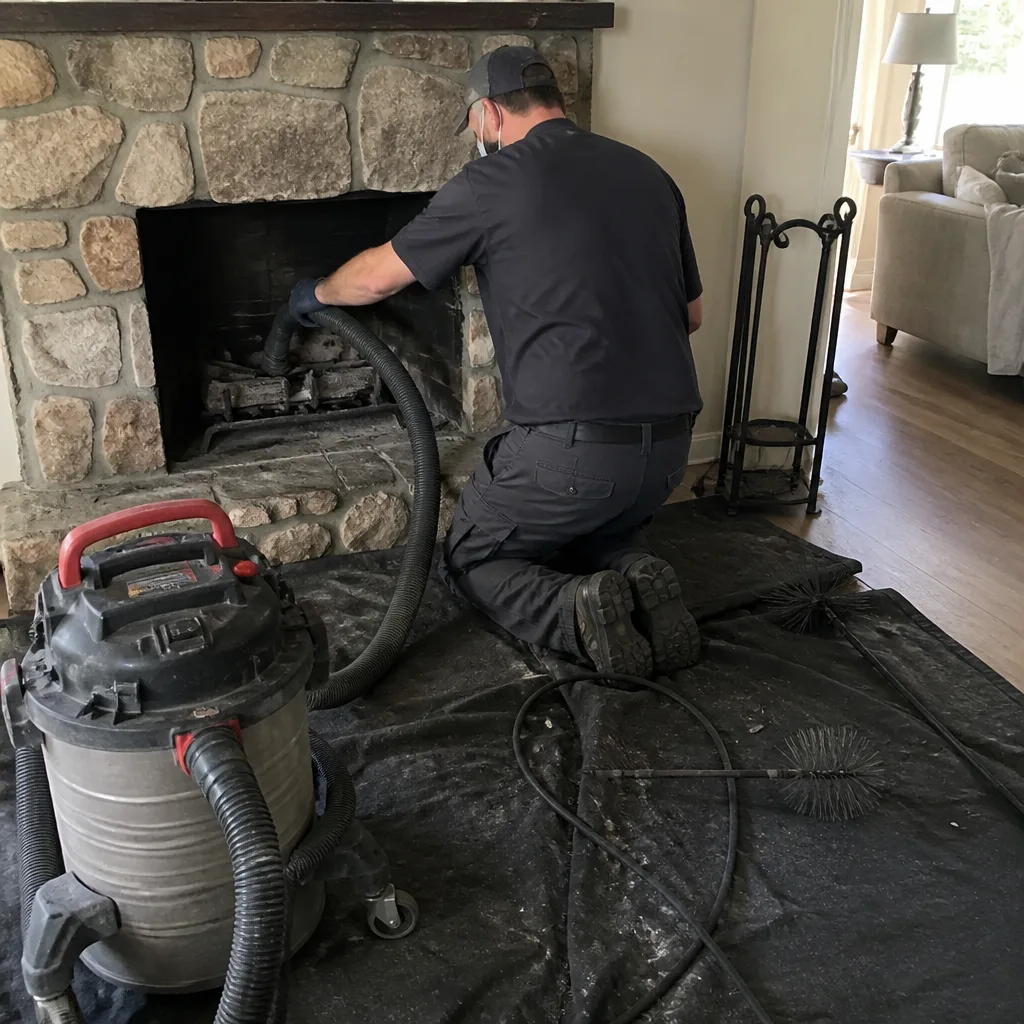 Before
 After
After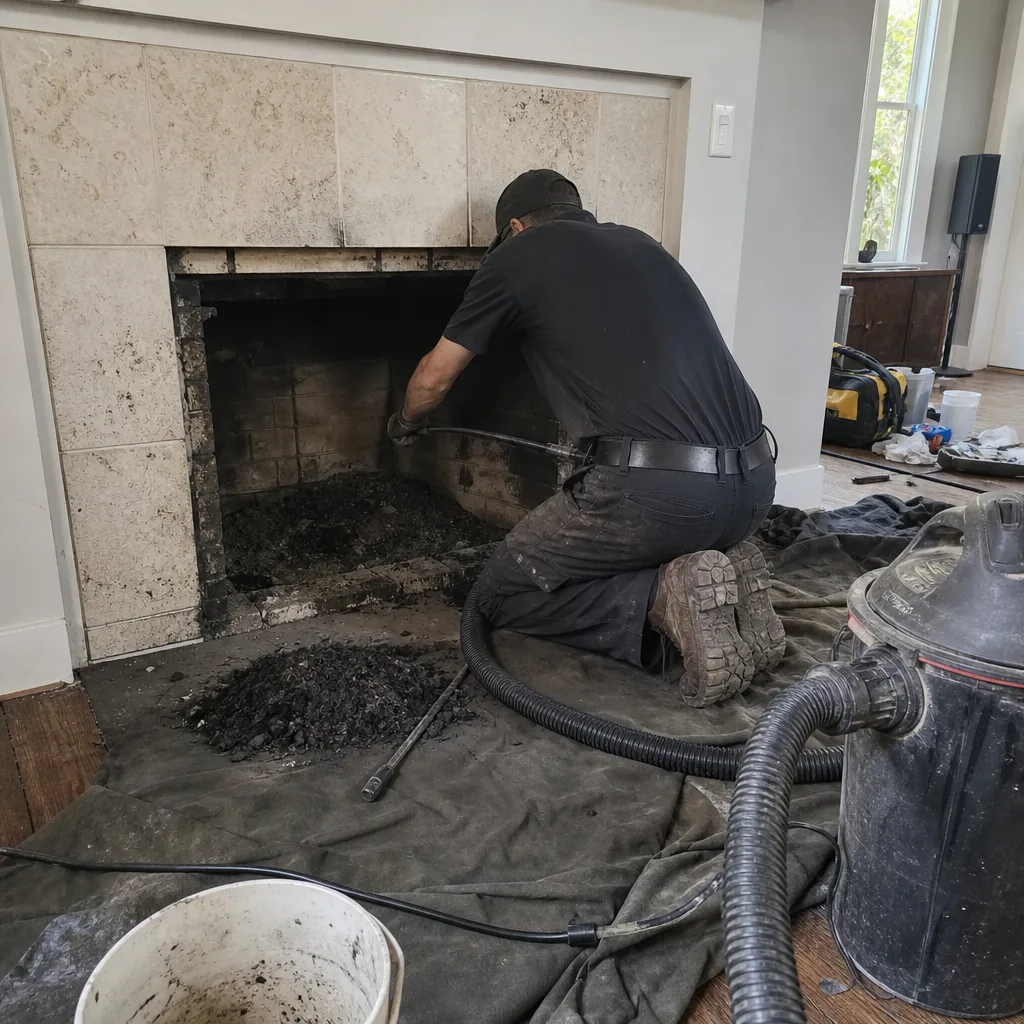 Before
 After
AfterReplacement Cost & What’s Included
In Orlando, a full Gelco flue liner replacement for a standard 6″ system in a one-story masonry chimney generally lands between $1,800 and $3,200. That includes the liner sections, a new top plate and rain cap, connector bands, and the labor to remove the old liner, run the new one, and re-secure the termination. Two-story homes, larger diameters like 7″ or 8″, or chimneys with an offset or elbow section can push the range to $3,500 or slightly higher, and that number can stretch to $4,200 if the existing masonry crown or wash needs repair at the same time.
What you get from us at that price: a camera inspection before anything is sold, a written price before any work starts, the liner installed with shoes covers and drop cloths down, and a photo of the clean-up before the crew pulls out of the driveway. That’s the Cedarwell Care Promise, and it’s not optional. The work itself is covered by our 365-Day Done Right Promise: if it isn’t done right, we make it right. We don’t do on-the-spot pressure pricing. The number we put in writing is the number you pay.
One more thing to know: we won’t tell you a liner needs replacing if a repair is honest and safe. Danny has talked more than a few Orlando homeowners out of a liner replacement when the camera showed a serviceable section and a failing cap. That phone call doesn’t make us money, but it keeps us in business long term.
DIY or Call Us?
We don’t recommend DIY flue liner replacement, and here’s why in plain terms: the working space is tight, the liner sections are heavy and awkward to manipulate from the top of a roof, and a dropped section inside a masonry flue can wedge itself into a position that turns a $2,200 job into a multi-day extraction. There’s also the matter of working at height on an Orlando roof in the wet season, which is not the place to learn how a liner system seats and locks.
What you can safely check before calling is simple: look at the firebox floor for metal flakes, run a flashlight up past the damper to check for visible rust or separation at the first connector, and note whether the draft feels weaker than it did in prior seasons. That information helps us prepare, but it does not replace the camera. We bring the camera on every liner assessment, and you watch the screen in real time. Know what’s in your flue before the first fire of the season, everything else follows from that.
If you’d rather not climb onto the roof or peer up a dark flue, call (850) 940-3442 and we’ll schedule the inspection. The estimate is free, and the person who answers the phone is a live human, any hour of the day.
FAQs
A properly installed Gelco stainless liner in the Orlando area typically lasts 15 to 25 years, but the Florida humidity and frequent rain at the termination can shorten that to 10 to 15 years if the rain cap fails or the crown allows water intrusion. The liner wall itself rarely fails first; it’s the seams, connector bands, and termination components that go earliest.
Sometimes yes, if the damage is confined to a single connector band or a short section near the top termination. If the failure is mid-run or the liner wall has pitted through in multiple spots, repair buys you a season at best, and replacement is the honest recommendation. We’ll show you the camera footage either way, and the decision is yours, with a written price for each option before you choose.
Most single-story Gelco liner replacements in Orlando take four to six hours from arrival to final clean-up photo. Two-story homes, offsets, or crown work can stretch it to a full day. We’ll give you the time window in writing before we start.
Yes. We keep common Gelco-compatible liner diameters, connector bands, top plates, and caps on hand, and for less common sizes we can have the parts staged within a few days through our Orlando supplier network. If it’s a standard 6″ run, we’re usually ready to go on the first visit.
When you’re ready to stop guessing about the condition of your Gelco liner, call (850) 940-3442 for a free estimate. A real person answers, we’ll schedule the inspection, and you’ll get a written price before any work begins. Danny and the Orlando crew have spent years handling chimney work throughout Dr. Phillips and the surrounding neighborhoods, and we treat every home like the family living in it matters to us, because they do.
Written by Danny Cortes, Owner, Kindling Chimney Orlando at Kindling Chimney Orlando, serving Orlando and nearby areas.